Open PDF Studio Windows, macOS, Linux ve Android üzerinde çalışır. Tüm sürümler indirme sayfasında bulunur; hesap ya da lisans anahtarı gerekmez.
Windows
İki yükleyici vardır. Kullanıcı yükleyicisi (*_x64_user-setup.exe) yalnızca sizin hesabınız için kurar ve yönetici hakları gerektirmez — yönetilen bir iş dizüstü bilgisayarında kullanışlıdır. Sistem yükleyicisi (*_x64-setup.exe) tüm kullanıcılar için kurar ve yönetici hakları ister.
Linux
Debian ve Ubuntu için .deb paketini, hiçbir şey kurmak istemiyorsanız .AppImage dosyasını ya da Snap Store sürümünü seçin. Yazdırma için CUPS istemci araçları (lp ve lpstat) gerekir; Snap ve Flatpak sürümleri bu erişimi zaten içerir.
macOS
.dmg hem Intel hem de Apple Silicon Mac’lerde çalışır.
GüncellemeProgram yeni sürümleri denetler ve kendini günceller. Önceki sürüme dönmek için Giriş sekmesindeki Önceki sürüm seçeneğini kullanın.
2. Pencere
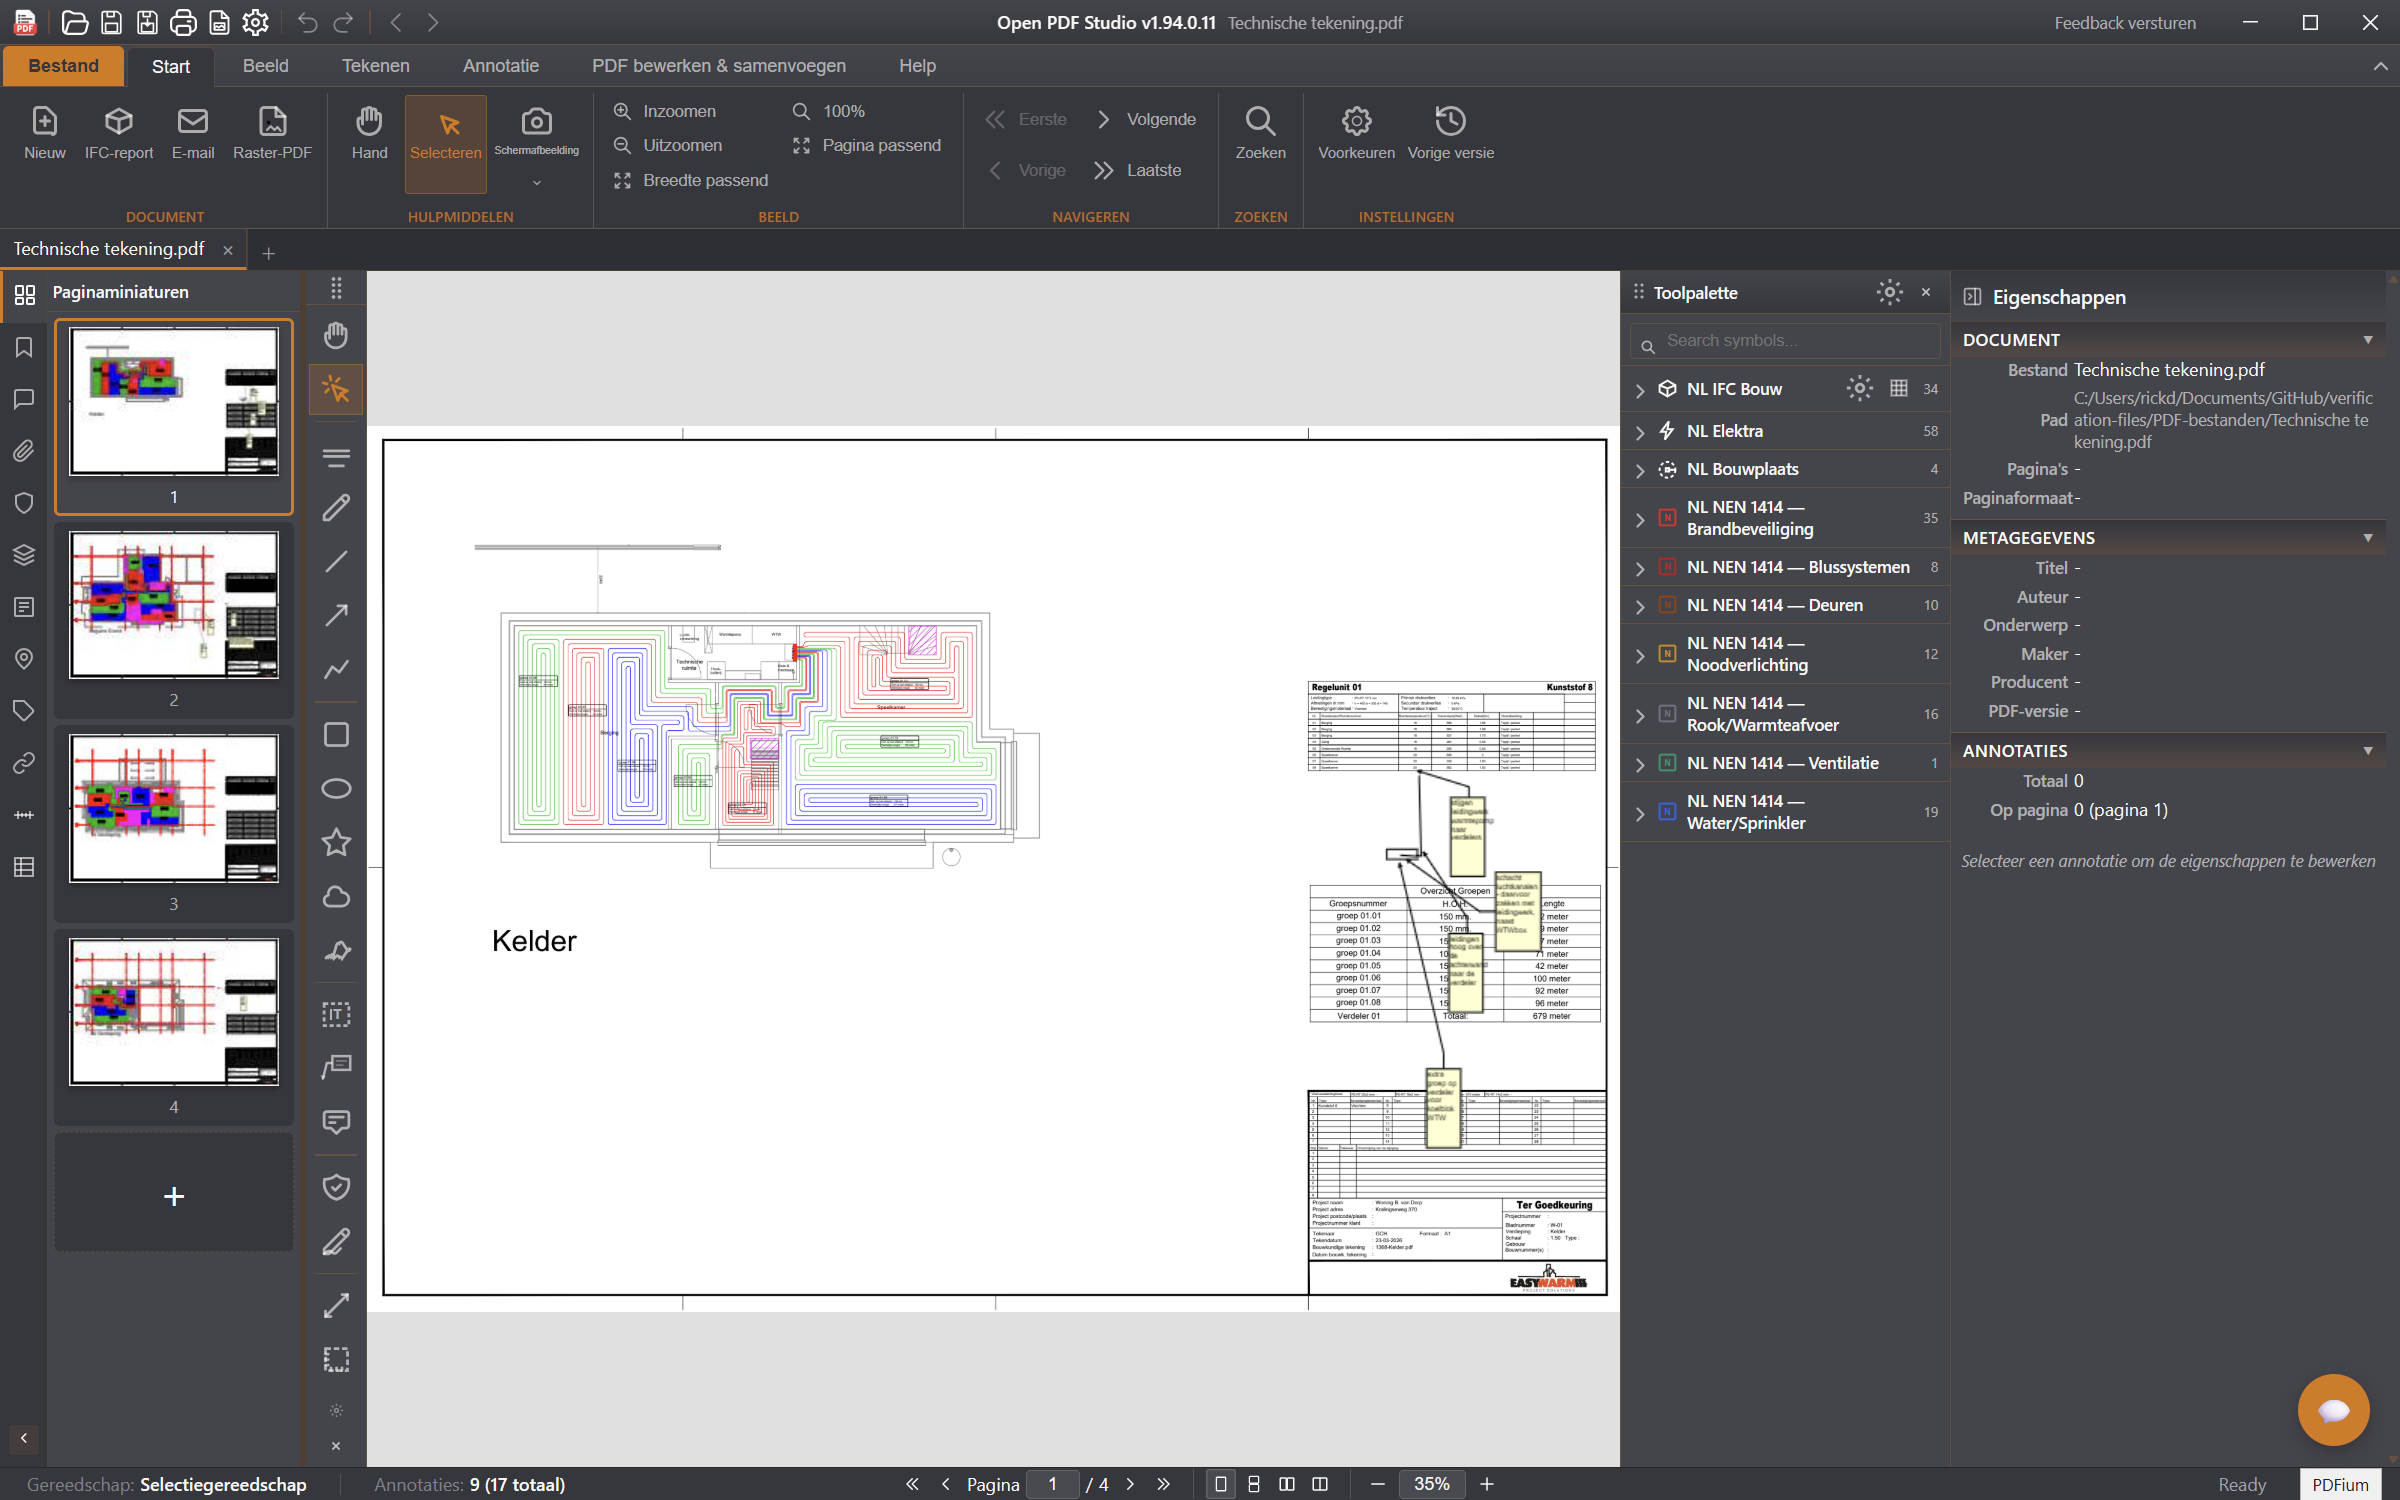
Pencere beş bölümden oluşur. Bunları tanıdığınızda her şeyi bulabilirsiniz.
Şerit en üstte yer alır ve Dosya, Giriş, Görünüm, Çizim, Yorum, PDF düzenle & birleştir ve Yardım sekmelerini içerir. Bir açıklama seçtiğinizde ek Biçim ve Yerleştir sekmeleri görünür.
Belge sekmeleri hemen altındadır: açık her PDF kendi sekmesini alır.
Gezinti paneli soldadır; sayfa küçük resimlerini, yer imlerini, yorumları, ekleri, katmanları, form alanlarını ve bağlantıları içerir. F9 ile açıp kapatın.
Tuval ortadadır; PDF burada gösterilir.
Özellikler paneli sağdadır ve seçili nesnenin tüm ayarlarını gösterir. F12 ile açıp kapatın.
Alttaki durum çubuğu etkin aracı, açıklama sayısını, sayfa numarasını ve yakınlaştırma düzeyini gösterir.
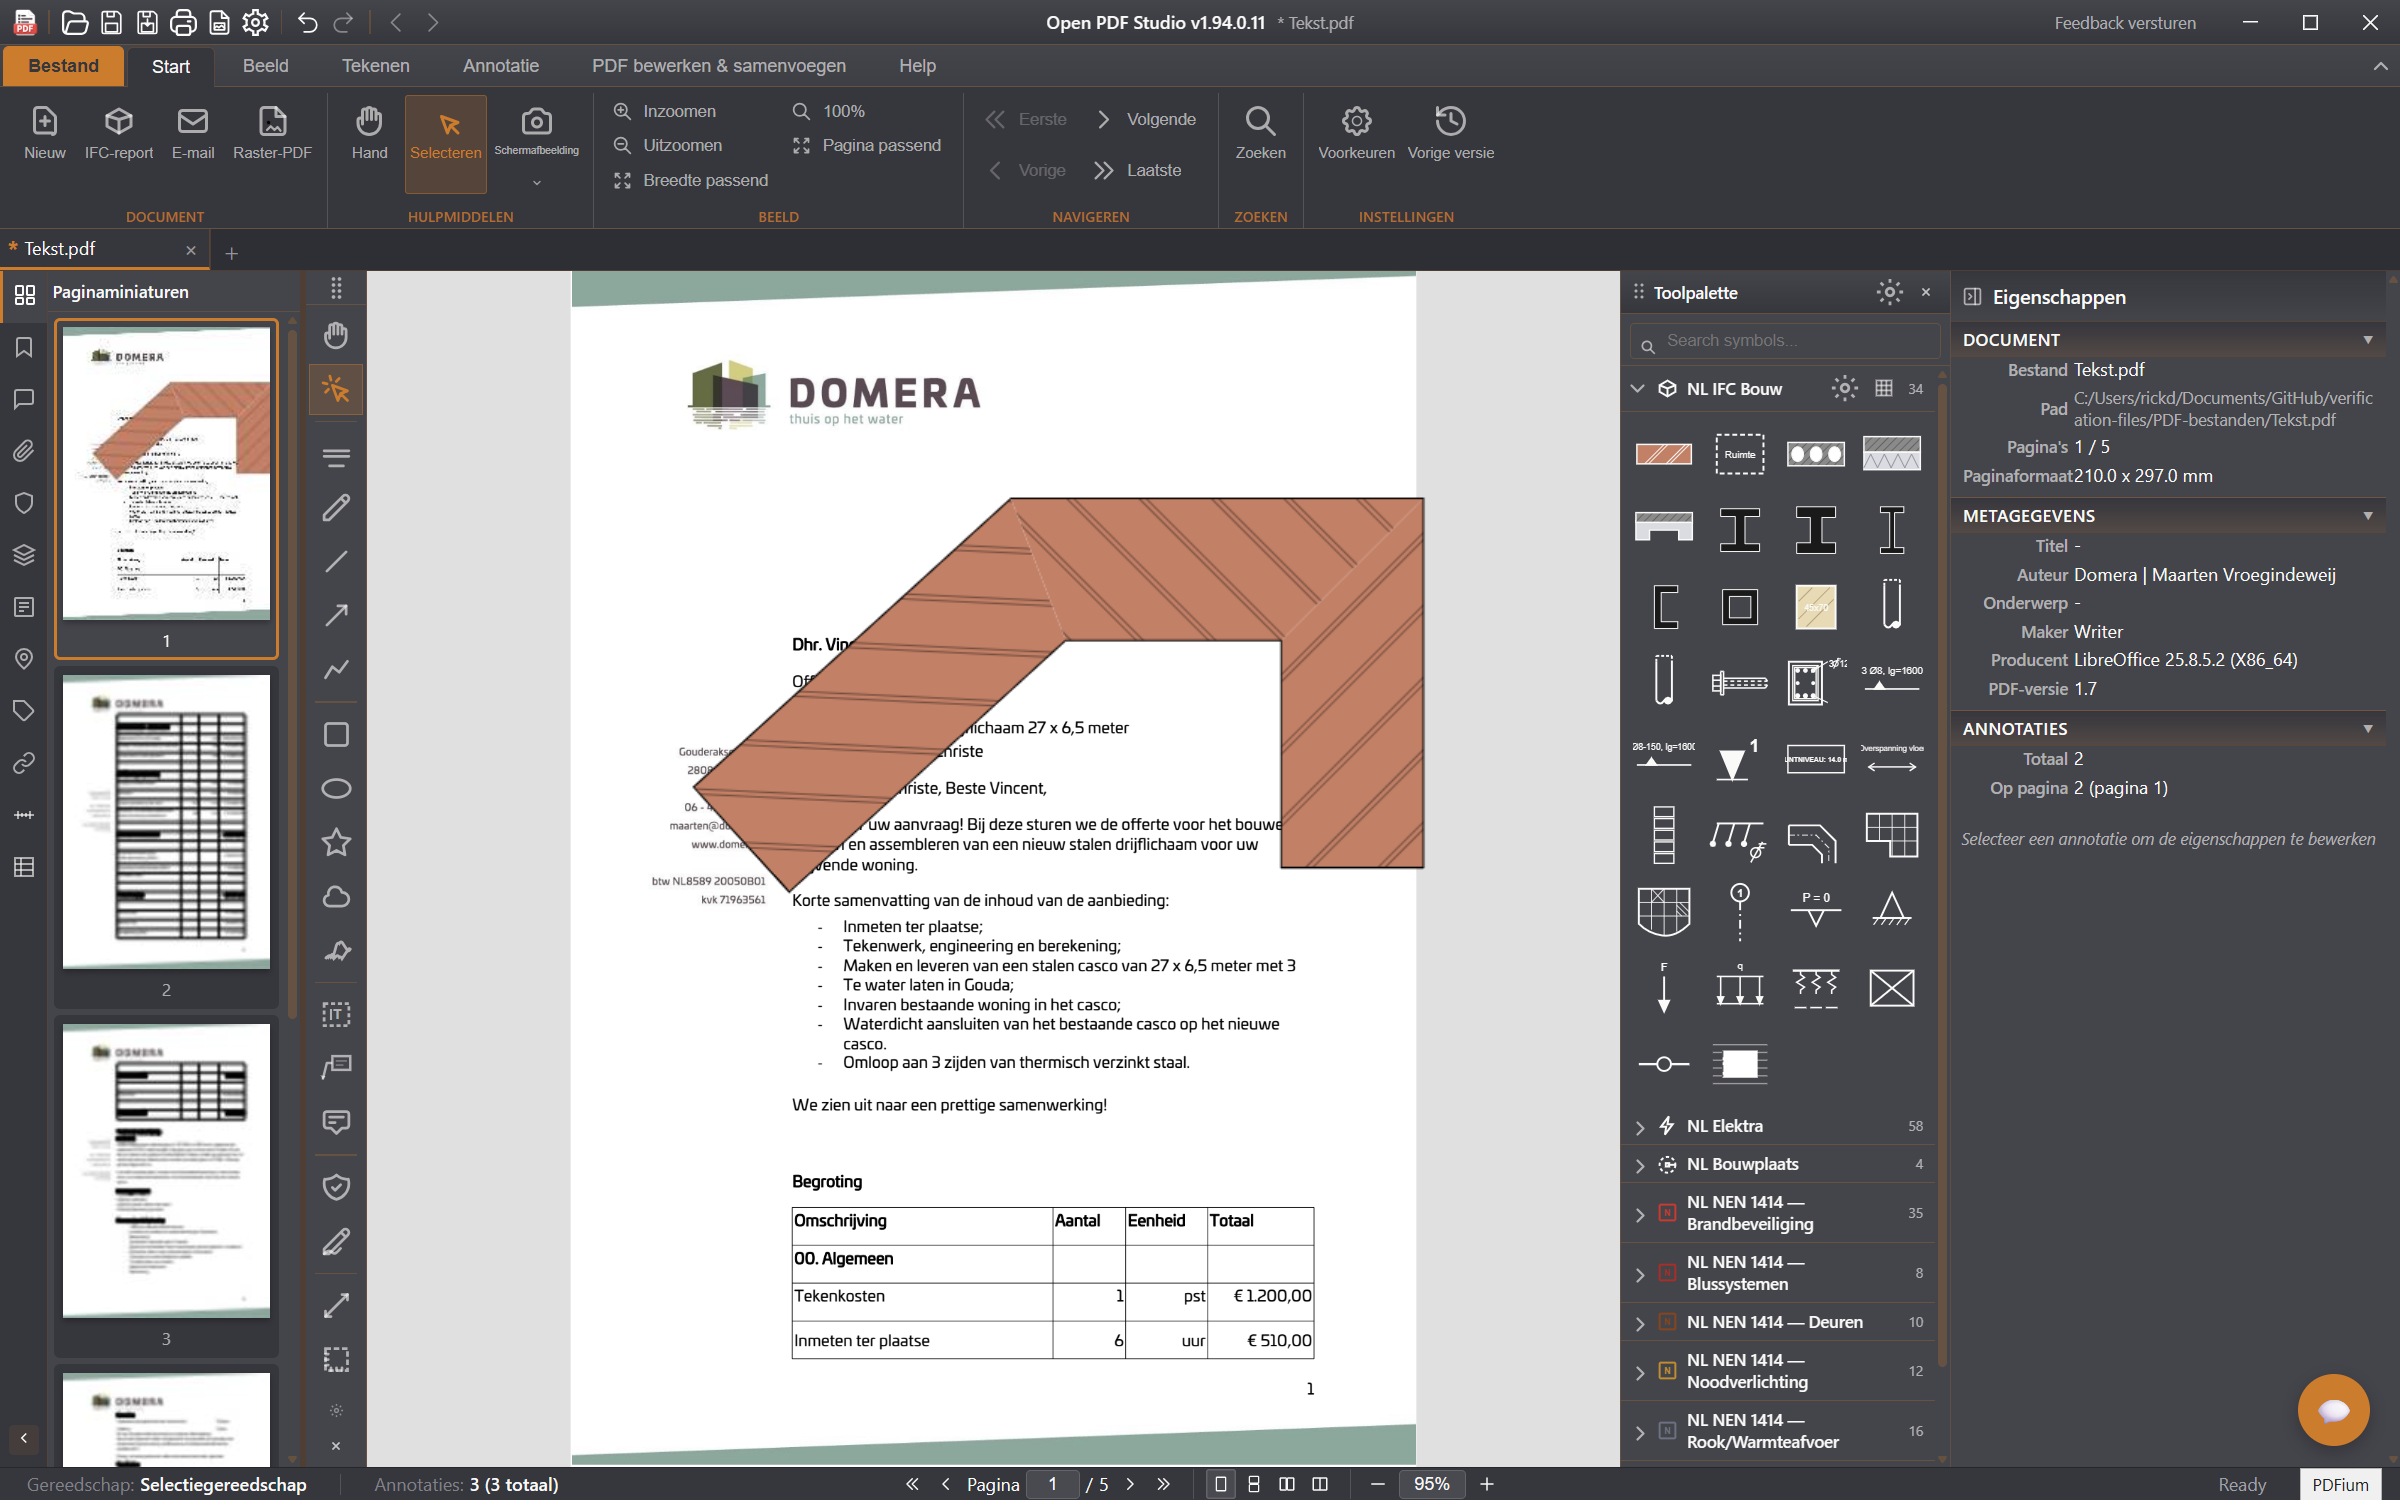
Pencere: solda gezinti paneli, ortada çizim, sağda özellikler paneli ve altta durum çubuğu.
3. Açma ve gezinme
Bir PDF’i Dosya → Aç (Ctrl+O) ile ya da dosyayı pencerenin üzerine bırakarak açın. Aynı anda birkaç dosya açabilirsiniz; her biri kendi sekmesini alır.
Yakınlaştırma ve sığdırma
Ctrl++ ve Ctrl+− ile ya da Ctrl tuşunu basılı tutup fare tekerleğini çevirerek yakınlaştırın — görünüm bu durumda işaretçiye doğru yakınlaşır. Ctrl+0 gerçek boyutu gösterir, Ctrl+1 genişliğe, Ctrl+2 ise tüm sayfaya sığdırır.
Sayfa görünümü
Görünüm sekmesinde tek sayfa, sürekli kaydırma, kitap görünümü ve yan yana iki sayfa arasında seçim yaparsınız. Yeni belgeler tek sayfa görünümünde açılır.
Arama
Ctrl+F belgenin metninde arama yapar ve bulunan sonuçları sayfada vurgular.
4. Açıklama ekleme
Açıklama araçları Yorum sekmesindedir. Bir araç seçin, sayfaya çizin ve ardından sağdaki özellikleri ayarlayın — renk, çizgi kalınlığı, opaklık ve yazı tipi boyutu.
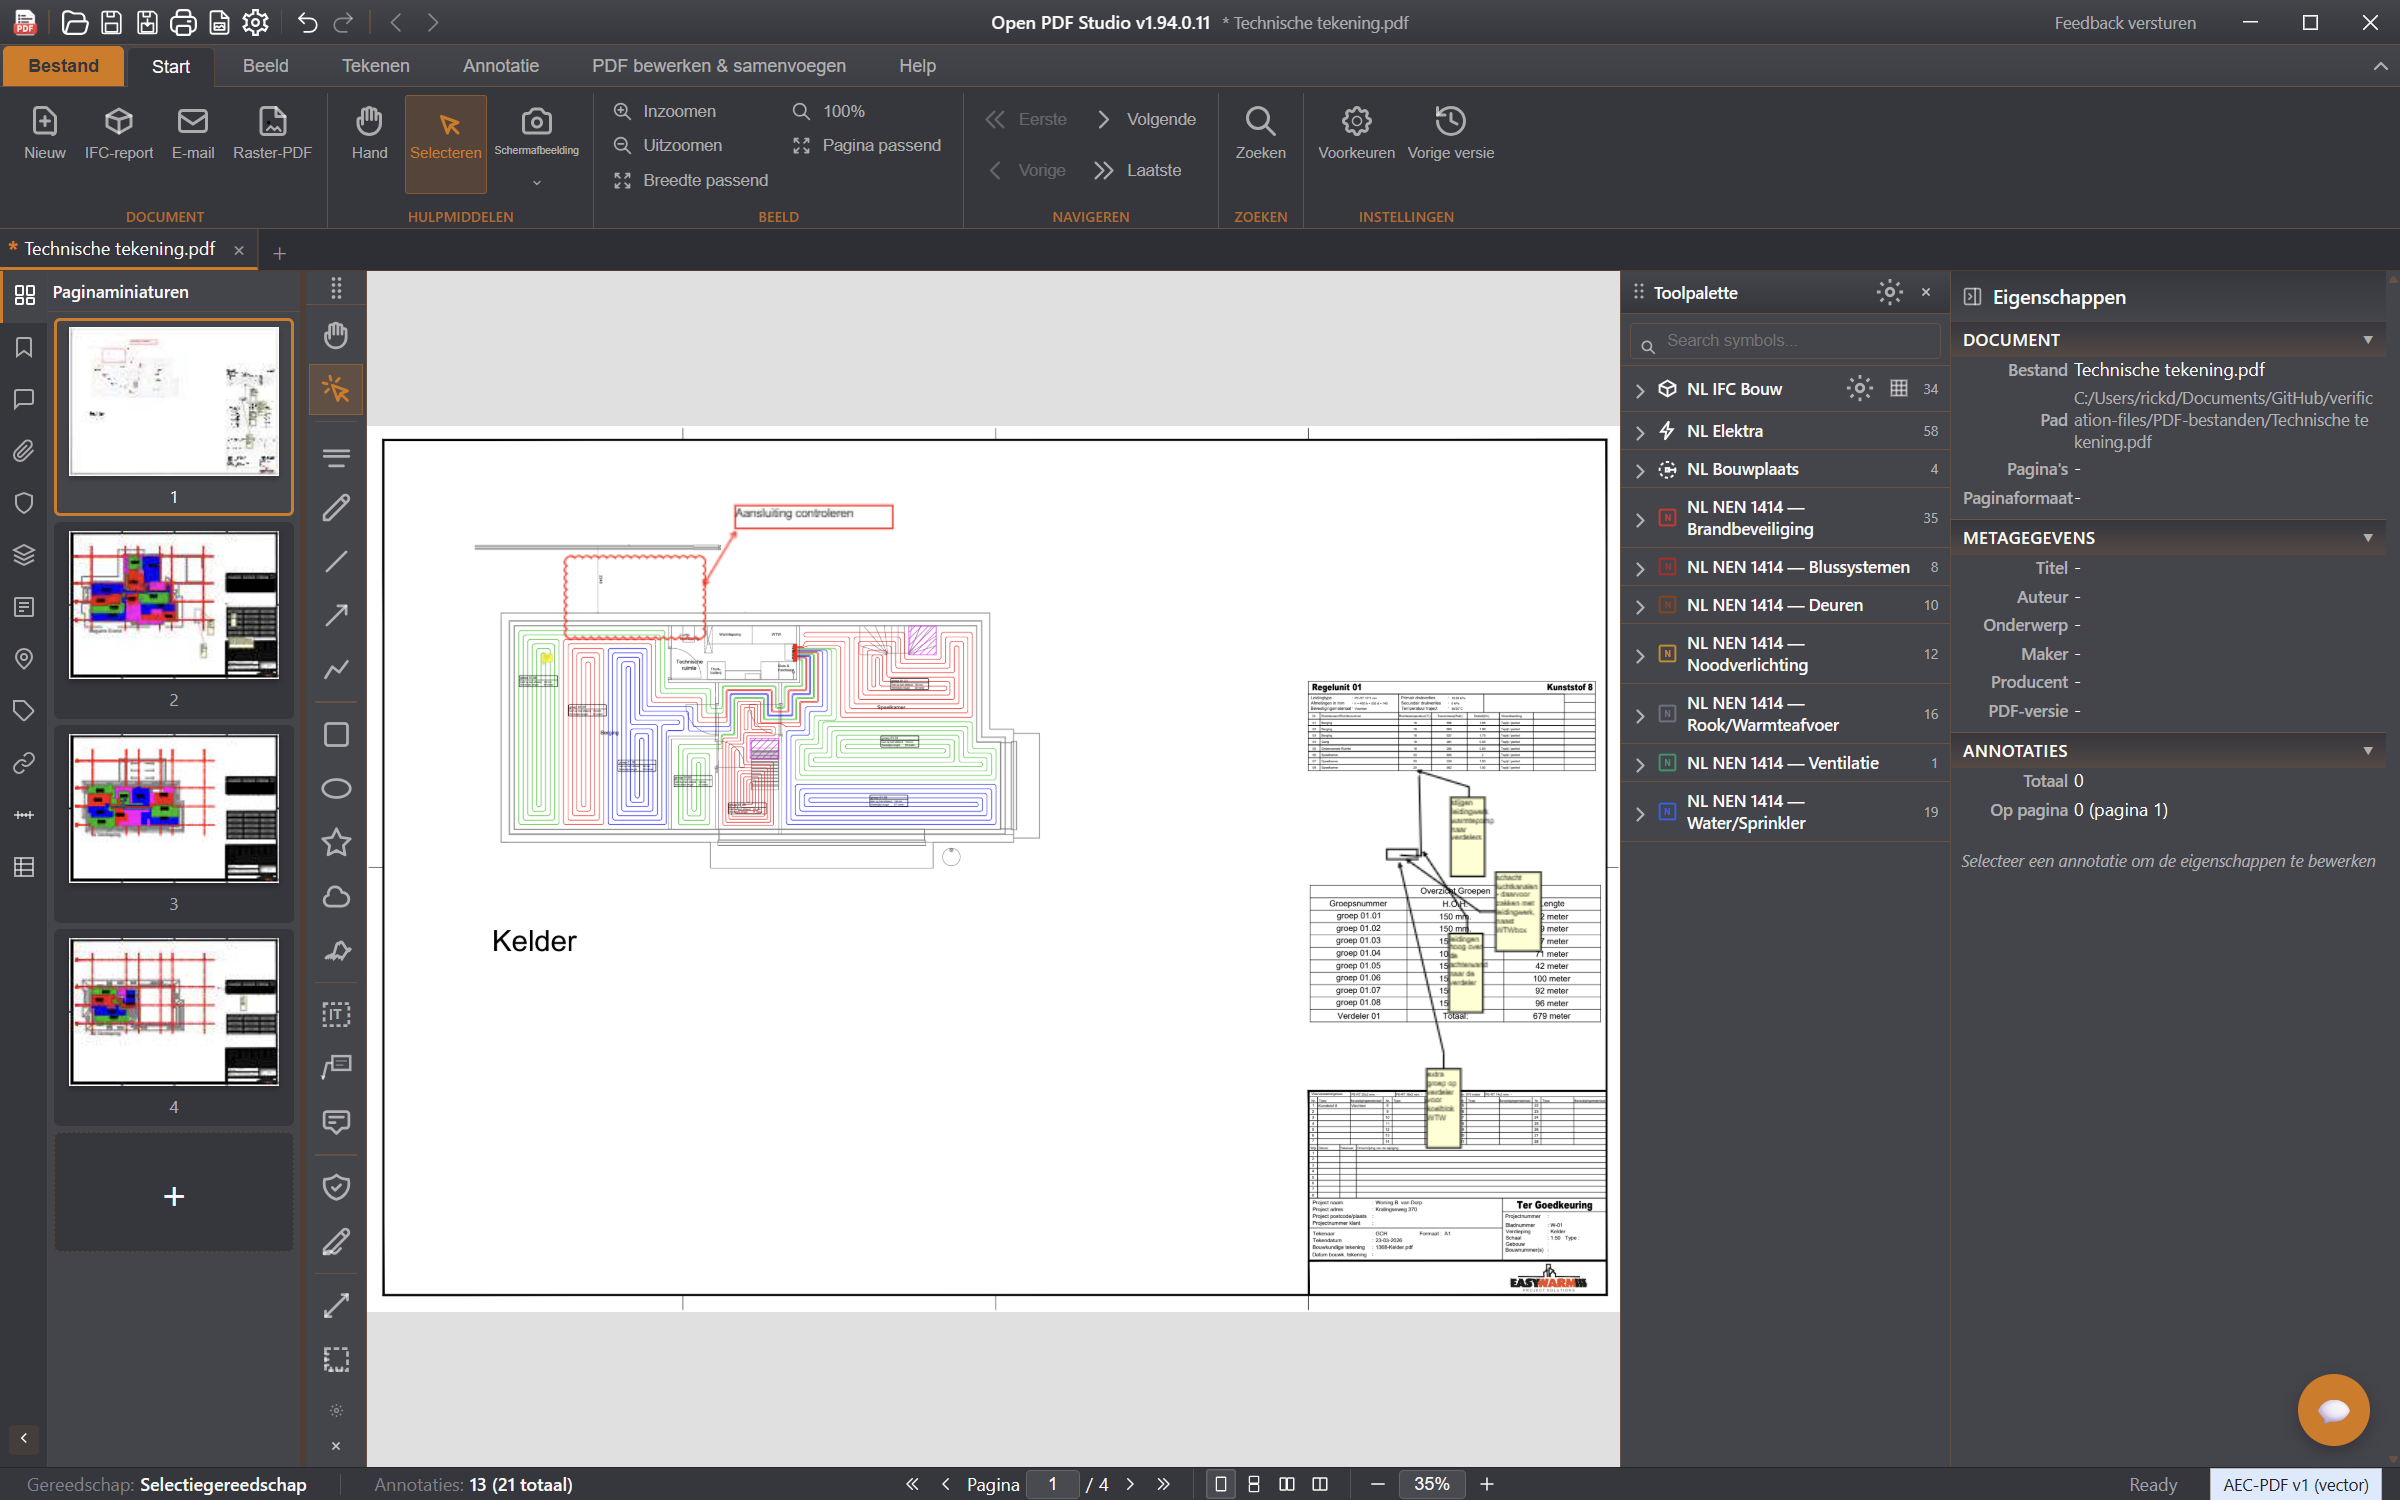
Bir tesisat çiziminde revizyon bulutu, ok ve metin kutusu — hepsi sonradan düzenlenebilir kalır.
Metni işaretleme
Vurgulama, altı çizili, üstü çizili ve dalgalı alt çizgi PDF’in gerçek metni üzerinde çalışır: metni seçin ve araca tıklayın.
Şekiller ve çizgiler
Dikdörtgen, elips, çokgen, bulut, çizgi, ok, çoklu çizgi, spline ve eğri ok. Çoklu çizgiyi, spline’ı veya dolgulu alanı çift tıklayarak bitirin (dolgulu alan için farenin sağ tuşu da olur).
Notlar, metin kutuları ve damgalar
Yapışkan not (N), tıklandığında açılan bir yorum yerleştirir. Metin kutusu (T), metni doğrudan çizimin üzerine koyar. Damgalar arasında Onaylandı, Reddedildi, Taslak ve Gizli bulunur; bir imzayı bir kez çizin ve yeniden kullanın.
Seçme ve değiştirme
Seçim aracıyla (V) bir açıklamaya tıklarsınız; birkaçını aynı anda yakalamak için bir seçim çerçevesi sürükleyin. Tutamaçlar boyutu değiştirir, üstteki yuvarlak tutamaç döndürür. Delete seçimi siler, Ctrl+Z geri alır.
Tüm yorumlar tek listedeAçıklama listesi (F11) belgedeki tüm açıklamaları gösterir. Bir satıra tıklayarak o açıklamaya gidin; buradan açıklamaları bir meslektaşınızla paylaşmak için XFDF olarak da dışa aktarabilirsiniz.
5. Çizim
Çizim sekmesi doğrudan çizimin üzerine çizmek içindir: serbest çizim, taramalar, dolgulu alanlar ve sembollerin bulunduğu araç paleti.
Nesne yakalama
Çizim sırasında işaretçi, mevcut öğelerin uç noktalarına, orta noktalarına, kesişimlerine ve merkezlerine yapışır. Böylece yakınlaştırmadan doğru bağlantılar kurabilirsiniz.
Sürekli çizim
Duvarlar ve kirişler sürekli çizilir: her tıklamadan sonra bir sonraki parça önceki noktadan başlar. Diziyi Esc ile ya da farenin sağ tuşuyla bitirin.
Silgi
Silgi serbest çizim izlerini siler; diğer açıklamalar Delete ile kaldırılır.
6. Ölçüm ve ölçek
Ölçüm her zaman ölçekle başlar. Ölçek olmadan program milimetre ya da metre yerine punto cinsinden ölçer.
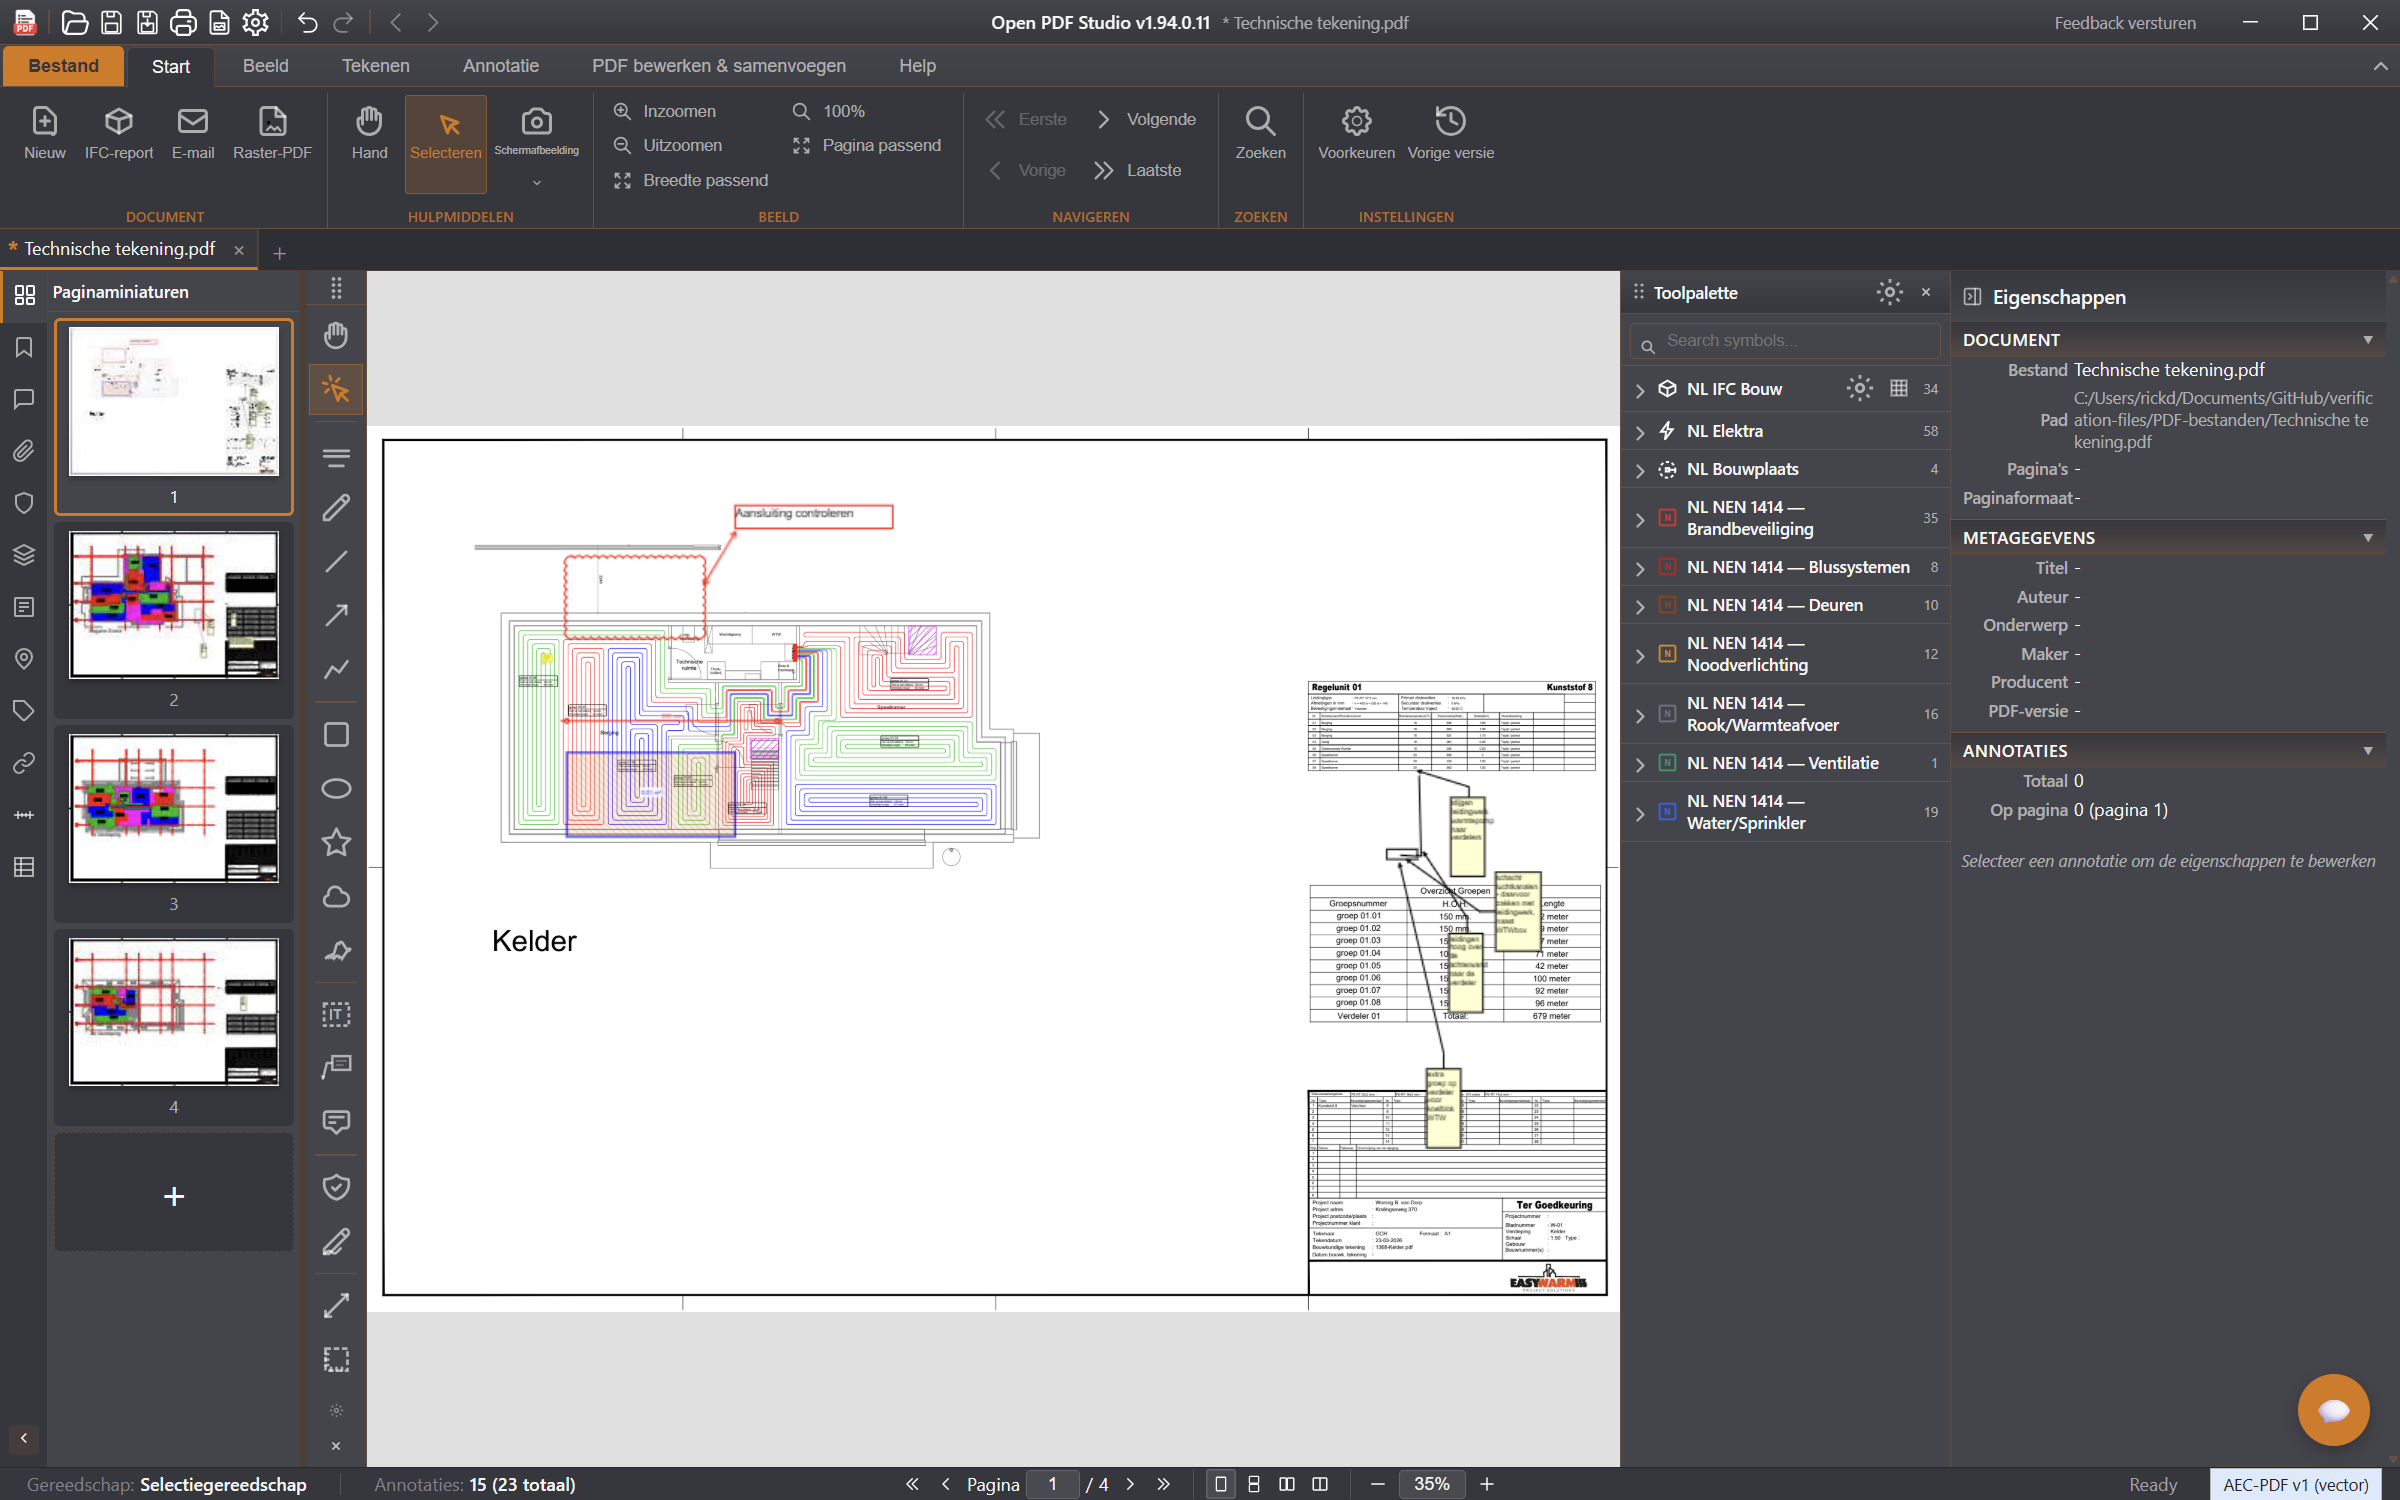
Ölçek ayarlandığında, bir ölçü çizgisi ve bir alan ölçümü hemen gerçek değerler verir.
Ölçeği ayarlama
Ölçüm sekmesine gidin ve Ölçeği tanımla seçeneğini seçin.
Gerçek mesafesini bildiğiniz iki noktaya tıklayın — örneğin çizimdeki bir ölçü çizgisi.
Bu gerçek uzunluğu girin ve onaylayın. Geçerli ölçek bundan sonra şeritte gösterilir.
Ölçek bölgeleri
Bir paftada birden fazla ölçek varsa — örneğin 1:20 detaylı bir 1:100 kat planı — detayın çevresine bir ölçek bölgesi çizin ve ona kendi ölçeğini verin. Bu bölgenin içinde ölçtüğünüz ya da çizdiğiniz her şey otomatik olarak bu ölçeği kullanır.
Ölçme
Mesafe, alan, çevre veya açı ölçün. Bir ölçü çizgisi üç tıklama ister: başlangıç, bitiş ve metnin yeri. Alan ve çevre için konturu tıklarsınız ve çift tıklayarak bitirirsiniz.
Metrajlar
Tüm ölçümler metraj tablosunda bir araya gelir; bu tabloyu bir maliyet tahmini veya keşif özeti için dışa aktarabilirsiniz.
7. Yapı sembolleri
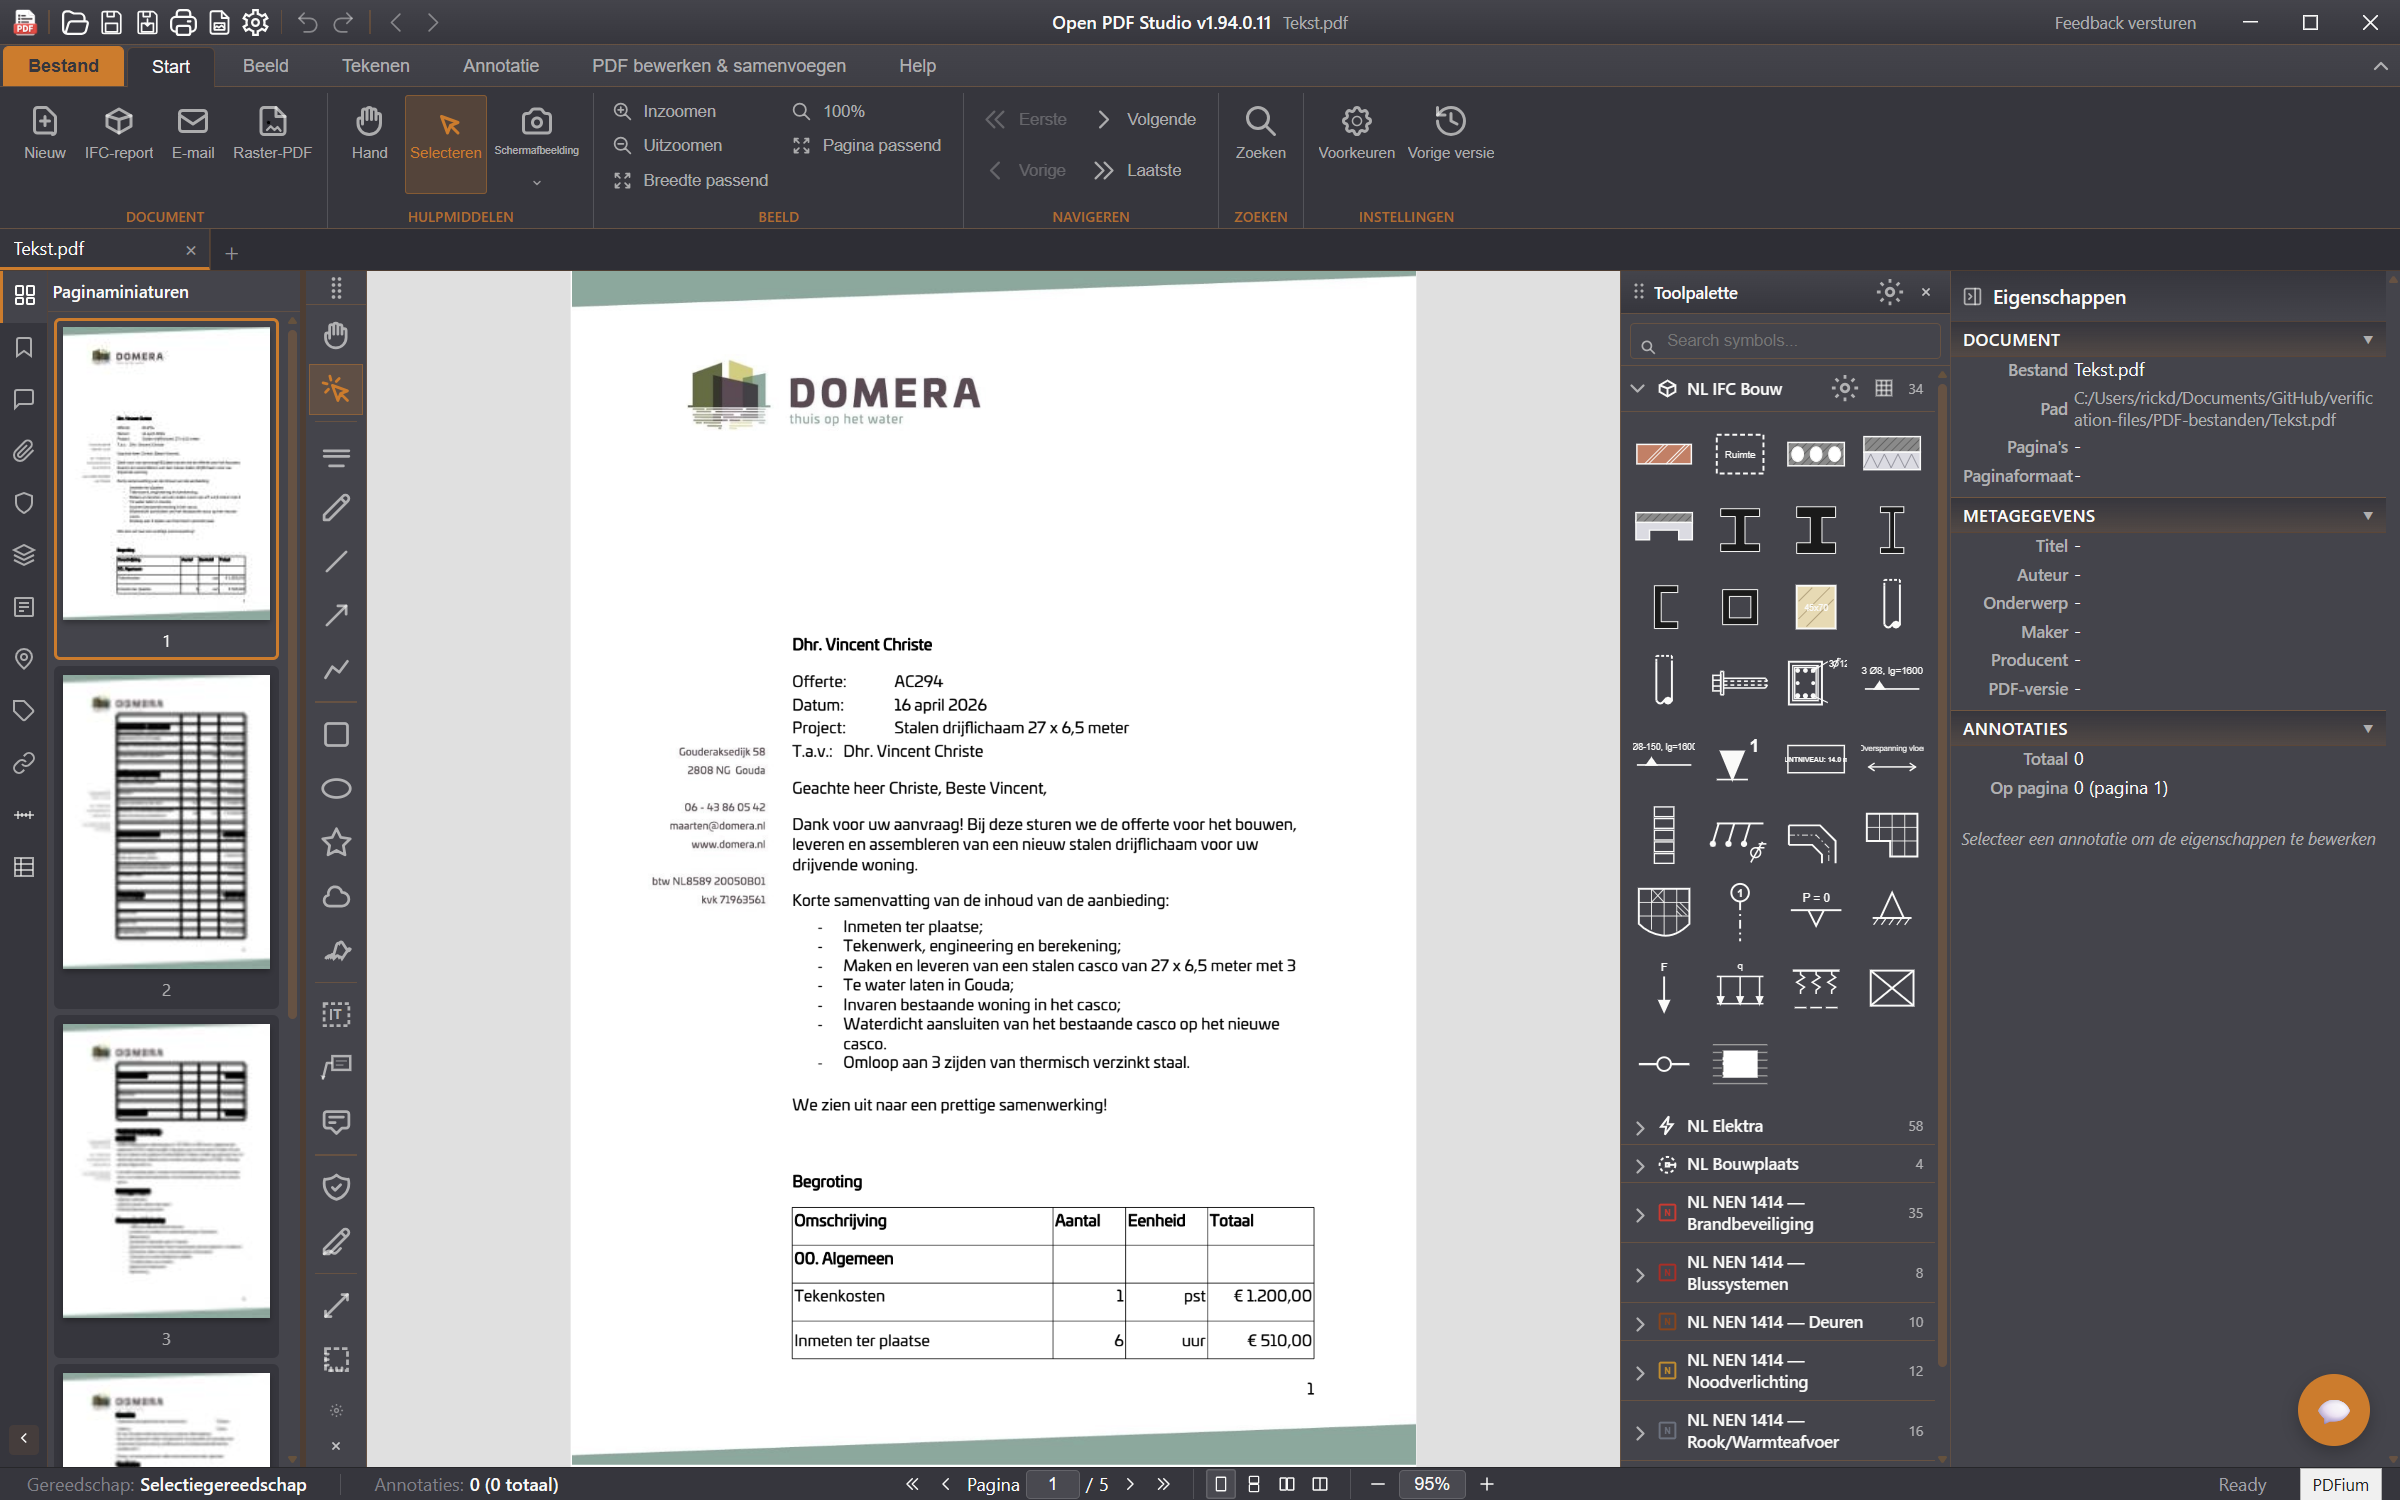
Araç paleti (Görünüm sekmesi → Araç paleti) sembol kitaplıklarını içerir: NL IFC Bouw, NL Elektra, NL Bouwplaats ve yangın güvenliği, havalandırma ve sprinkler için NEN 1414 setleri.
Birlikte gelen kitaplıklarla araç paleti; bir grubu açın ve yerleştirmek için bir sembole tıklayın.
Parametrik semboller
Birçok sembol parametriktir: bir sembolü yerleştirdikten sonra boyutlarını, tipini veya metnini özellikler panelinde değiştirirsiniz ve çizim buna uyar. Duvarlar, betonarme kirişler, akslar, kot işaretleri, mesnetler ve yükler bunlara örnektir.
Gerçek boyutta
Gerçek bir boyutu olan semboller — dönüş yarıçapıyla bir vinç, bir park yeri, bir şantiye konteyneri — çizim ölçeği bilinir bilinmez doğru boyutta yerleşir.
Köşeler kendiliğinden kapanır
Bir köşede birleşen duvarlar veya kirişler çizdiğinizde köşeler otomatik olarak gönyelenir. Bu, iki eleman birbirini geçtiğinde ya da biraz önce durduğunda da geçerlidir: program amaçlanan köşeyi bulur ve temiz bir şekilde tamamlar.
Ayrı ayrı çizilmiş üç duvar: parçaların birbirini geçtiği yerler de dahil olmak üzere köşeler otomatik olarak gönyelendi.
Kendi sembolleriniz
Birlikte gelen kitaplıkların yanı sıra kendi gruplarınızı oluşturup SVG semboller ekleyebilir ya da değiştirilebilir boyutlara sahip bir üretici kataloğunu içe aktarabilirsiniz.
8. Sayfaları düzenleme
PDF düzenle & birleştir sekmesi, belgenin kendisi üzerinde çalıştığınız yerdir.
Sayfalar eklenebilir, silinebilir, çıkarılabilir, değiştirilebilir ve döndürülebilir. Gezinti panelindeki küçük resimleri sürükleyerek sırayı değiştirin.
Birleştir birkaç PDF’i tek bir belgede toplar.
Sayfa numarası, tarih ve dosya adı değişkenleriyle filigranlar ve üstbilgiler/altbilgiler.
Karartma: alanları işaretleyin ve uygulayın. Dikkat — uygulama, içeriği dosyadan kalıcı olarak kaldırır.
Sıkıştır dosya boyutunu küçültür.
9. Formlar
Etkileşimli PDF formlarını (AcroForms ve XFA) doğrudan doldurun; değerler kaydettiğinizde korunur. Kendiniz de alan ekleyebilirsiniz: metin alanları, onay kutuları ve radyo düğmeleri. Bir belge form alanları içerdiğinde program bunu en üstte belirtir.
10. Kaydetme, dışa aktarma ve yazdırma
Kaydetme
Ctrl+S aynı dosyaya kaydeder; Farklı kaydet bir kopya oluşturur. Açıklamalar gerçek PDF açıklamaları olarak yazılır, böylece diğer PDF okuyucuları da bunları gösterir.
Dışa aktarma
Sayfaları 72 ile 600 dpi arasında PNG veya JPEG olarak ya da raster PDF olarak dışa aktarın. Açıklamaları XFDF aracılığıyla diğer programlarla paylaşın.
Yazdırma
Yazdırma iletişim kutusu (Ctrl+P) sayfa aralığı, ölçeklendirme ve görüntü olarak yazdırma seçeneğiyle canlı bir önizleme gösterir. Yazdırma işi PDF dosyasının adını alır.
11. Klavye kısayolları
Tuş
İşlem
Ctrl+N
Yeni belge
Ctrl+O
PDF aç
Ctrl+S
Kaydet
Ctrl+P
Yazdır
Ctrl+W
Sekmeyi kapat
Ctrl+Z
Geri al
Ctrl+Y
Yinele
Delete
Seçili açıklamayı sil
Ctrl+F
Bul
Ctrl+0 / 1 / 2
Gerçek boyut / genişliğe sığdır / sayfaya sığdır
F9 / F11 / F12
Gezinti paneli / açıklama listesi / özellikler
V
Seçim aracı
1 – 5
Vurgulama, serbest çizim, çizgi, dikdörtgen, elips
T / N
Metin kutusu / not
Esc
Çizim dizisini bitir veya seçimi kaldır
Ekranda tuş vuruşlarıBir eğitim videosu mu kaydediyorsunuz? Görünüm → Tuş vuruşları seçeneğini açın: bastığınız her tuş tuvalin sağ alt köşesinde büyük olarak görünür, böylece izleyenler takip edebilir.
12. Ayarlar
Tercihler bölümünde dili (sağdan sola yazılanlar dahil 39 dil), temayı (koyu, açık, mavi, yüksek kontrast veya sistem), varsayılan açıklama yazarını ve çizim araçlarının varsayılan değerlerini ayarlarsınız.
Çalışmanız korunur: açık sekmeler yeniden başlatmadan sonra geri gelir; ayrıca adlandırılmış çalışma alanları kaydedip daha sonra bunlara dönebilirsiniz.
Telemetri yokOpen PDF Studio hiçbir kullanım verisi göndermez. Bilgisayarınızdan yalnızca güncelleme denetimi çıkar; belgeleriniz oldukları yerde kalır.